I recently got an old AT1k from a nearby Goodwill along with a few other guns, but I was intrigued by this for some reason. While most reviews are negative I didn't see anything bad with this blaster. Stock, it's very good for indoor wars, same range as a stock NF.
Now, most I've heard about the 1k modded is that it's best singled. I thought to myself "Is there any way to get usable ranges with it and still use the turret?". This bugged me because I didn't see any way to keep the seal with a larger air output. That was until I found some O-Rings that fit the size perfectly at my local hardware store. From there I contemplated possible ways to keep the O-ring adhered to the plunger tube. Here's what I did.
Here's what you'll need:
- Airtech 1000.
- Four 3.5" sections of PETG, Brass, PVC or CPVC.
- Epoxy, Fishin' Glue, Goop or whatever adhesive you see fit.
- A Dremel.
- Utility knife.
- Small Dremel grinding bit and cutting bit of your choice.
- A screwdriver.
- E-Tape
- One 5/16"x7/16"x1/16" Rubber O-Ring.
First things first, of course. Open the thing up, there will be a ring on the back of the gun that holds it together. I cut it off and replaced it with E-tape when I was done:

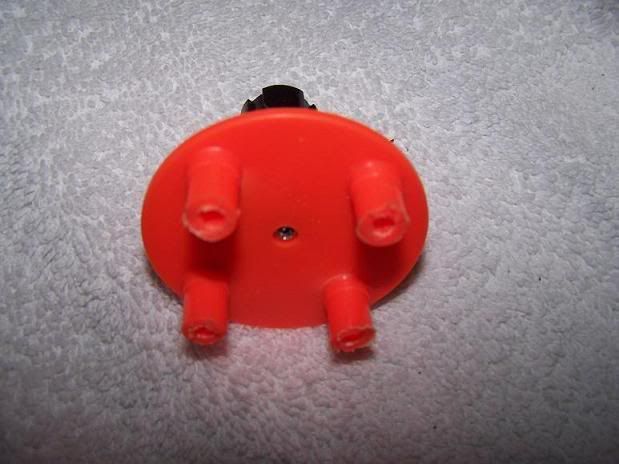
Let's focus on the turret for now, take it out of the blaster:
Now, bust out your Dremel and cut down most of the pegs, leave about 1/2" left for E-Taping later:
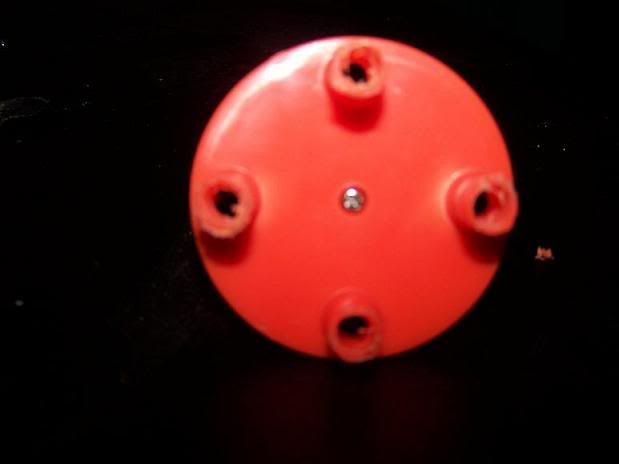
Now take either a drill or small Dremel grinding stone and make the turret holes wider:
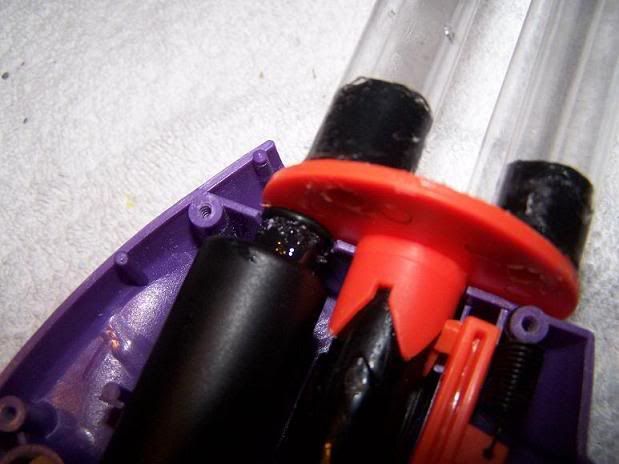
Wrap E-Tape around what's left of the pegs, just enough for your piping of choice (I used PETG) to fit snugly on:
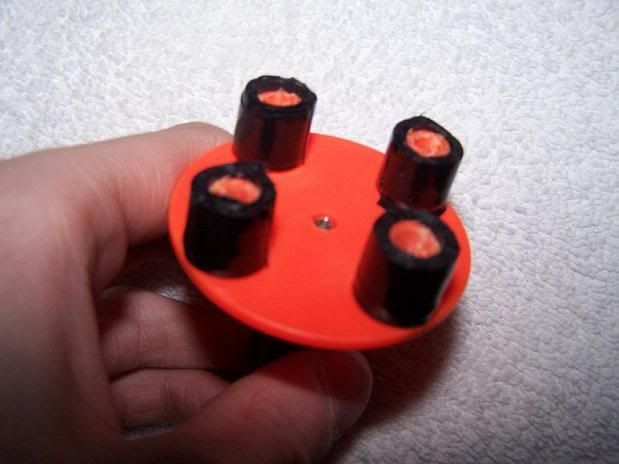
Now, put a layer of glue and the E-Tape and slip the barrels on. Leave it out to dry:
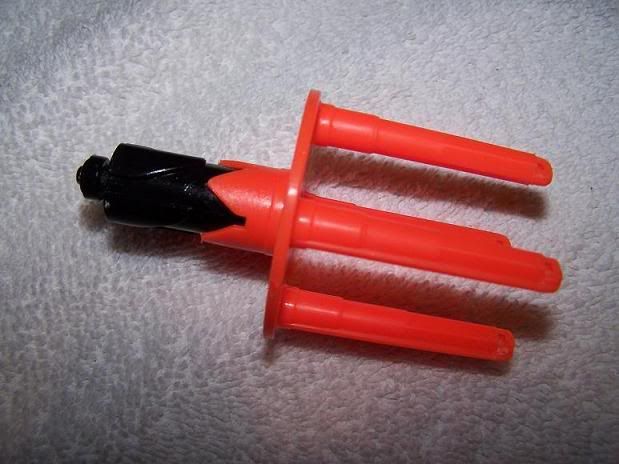
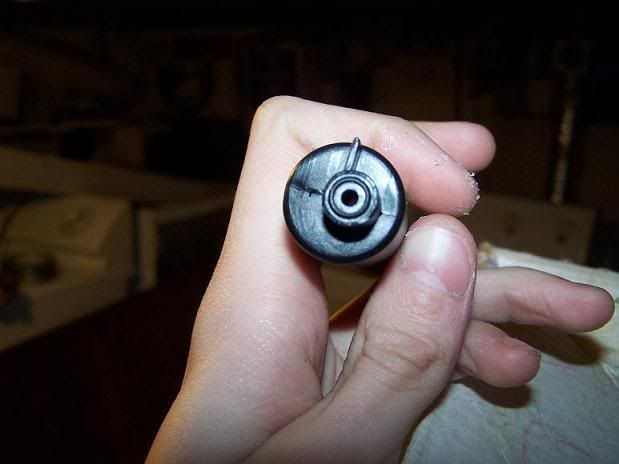
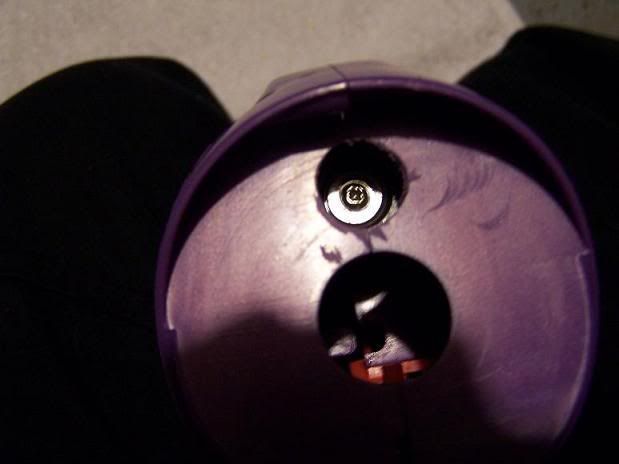
Let's get to work on the plunger tube! First take it out of the gun, note the small airflow and rubber tab used to keep a good seal against the turret:
Pop out the rubber tab to show the plastic we'll be Dremelling through in a second:
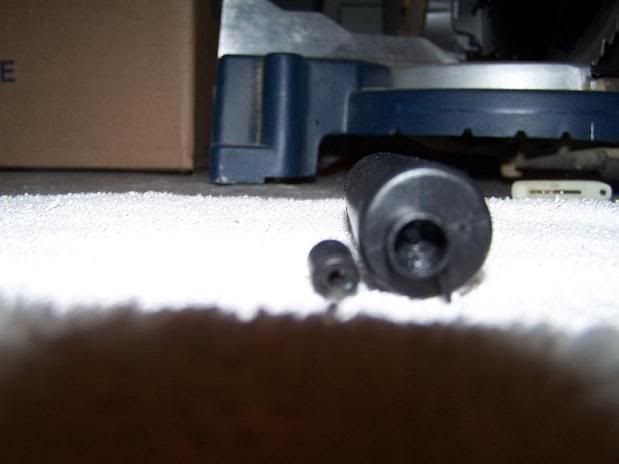
Now use the drill or small grinding stone to make the airhole about four times it's original size:
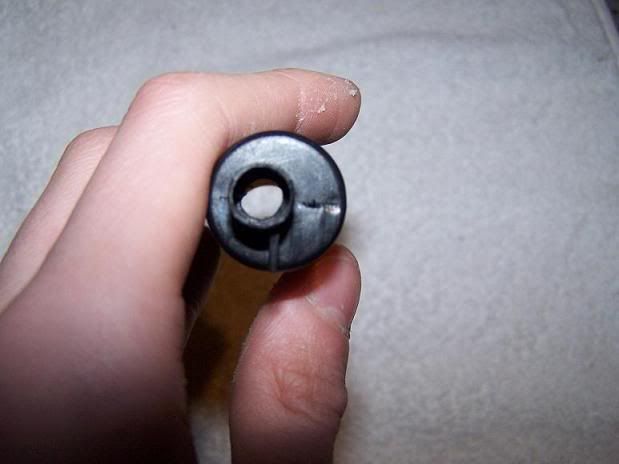
To accomadate the new O-Ring, dremel out a larger hole where the plunger tube meets the turret:
Cover the end of the plunger tube in a thin layer of glue, make sure not to get it in the tube:
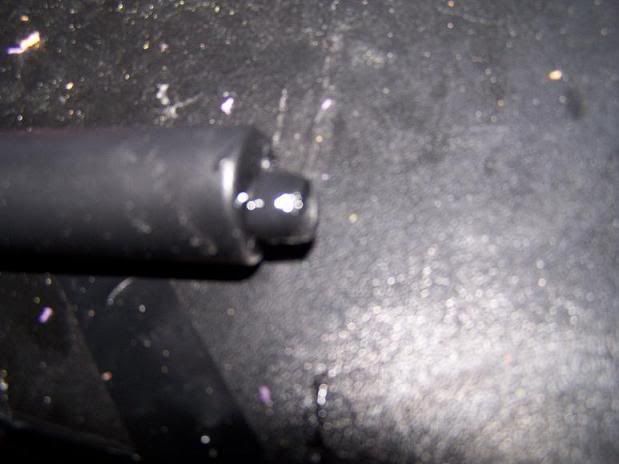
Take your O-Ring and fit it on the very end of the plunger tube. It will be a bit of a stretch, but it should stay in place after you hold it there for a minute. Now put it all back in the gun, making sure the O-Ring stays pressed up against the turret. Don't get ANY glue on the turret or you're screwed:
Now close it up and screw it back together, you're done! Make sure to allow the glue to dry before firing.
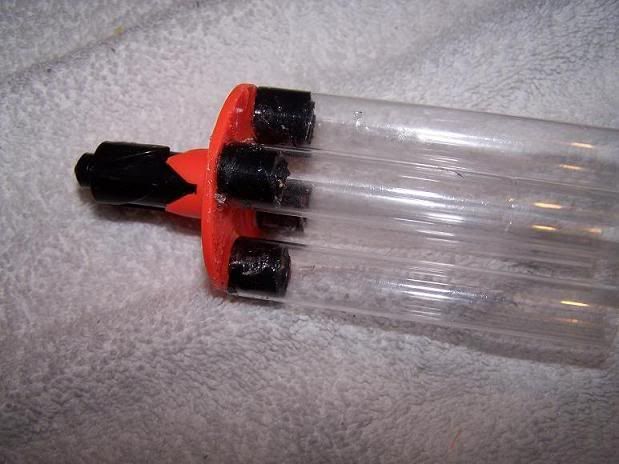
Here's the finished product:
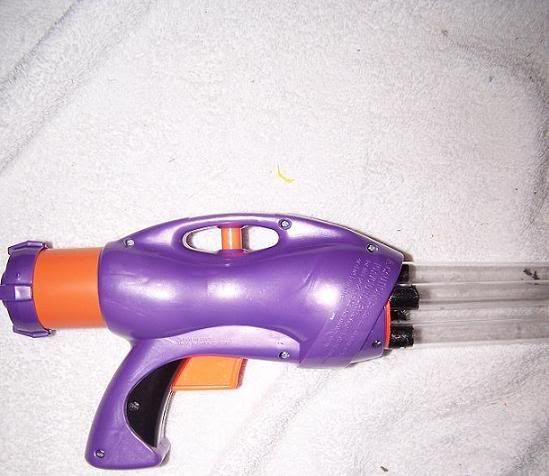
All in all, it took about an hour and a half to do, not including the overnight wait time for the glue to dry. Ranges should be in the high Forties and early Fifties, I don't have a measuring tape but my house from living room to kitchen is about that and it hits the cupboards in the kitchen from the far side of the living room.
Anyway, I'll be working on more maniacal creations. DD out.


